Spectrum Analyzer Lab Manual

1. Introduction to the Remote RF Lab

Welcome to the Quaxys Remote RF Lab!

Our innovative platform enables you to access and control state-of-the-art RF measurement equipment from anywhere in the world. Our spectrum analyzer lab is designed to help you master essential RF measurements for both active and passive components, including amplifiers, filters,  and attenuators, providing hands-on experience with industry-standard techniques.


👉 Select one of the experiments below to access the associated lab manual:

1. Attenuator Testing with Spectrum Analyzer

1.1 Objective

The objective of these measurements is to evaluate the following attenuator parameter:

🎯 Attenuation

1.2 Required Equipment

The following equipment and components are needed to measure filters with a network analyzer:

🛠️Spectrum analyzer
🛠️Coaxial cables
🛠️Attenuator
🛠️Quaxys remote RF lab platform

1.3 Test Setup

The test setup is illustrated below:
The test setup consists of the following components:

1.🔗 Attenuator Connections:
  • The attenuator’s input is connected to a signal generator.
  • The attenuator’s output is connected to input port of the spectrum analyzer.

The spectrum analyzer can be seamlessly controlled using the Quaxys Remote RF Lab platform. This platform allows you to:

✅ Configure all essential spectrum analyzer parameters, including:
  • Start/Stop Frequency
  • Number of Points
  • Resolution Bandwidth
  • Video Bandwidth 

With the Quaxys platform, you gain full control of your RF measurements remotely. A camera is included to enable remote monitoring of the test setup.

1.4 Measurement Steps

  • The following steps apply to all the measurements with a spectrum analyzer.

📋Step 1: Allow the Spectrum Analyzer to Warm Up:
When performing measurements with spectrum analyzers, it’s essential to allow them to warm up and stabilize after powering on. As highlighted in the Spectrum Analyzer Course, temperature changes can cause measurement errors.
In our case, since the spectrum analyzer is already powered on and fully warmed up, this step can be skipped.

📋Step 2: Set Up the Spectrum Analyzer Parameters: 

In this step, configure the following parameters using the Quaxys software:
  • Start Frequency: 100 MHz
  • Stop Frequency: 8 GHz
  • Resolution bandwidth: 1 MHz

📋Step 3: Adjust the Signal Generator Output Frequency and Power:
  • Set the signal generator frequency to 1GHz
  • Set the output power to -20 dBm

1.4.1 Attenuation Measurements

📋Step 1: Select the attenuator for Testing:
From the Quaxys Device Under Test (DUT) menu, choose the attenuator.

📋Step 2: Calculate the attenaution at 1GHz:
Measure the peak of the signal at 1 GHz. What is its value? How can you calculate the attenuation using this measurement and the signal generator's output power?

2. Filter Testing with Spectrum Analyzer

2.1 Objective

The objective of these measurements is to evaluate the spectrum of a signal generator using various types of filters. 

🎯 In-band power
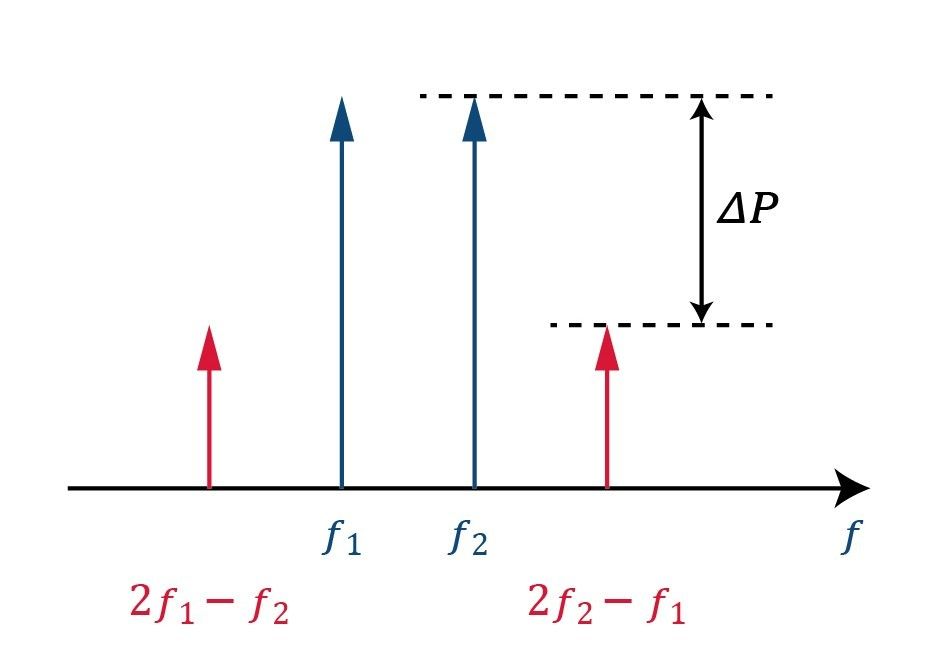
🎯 Out-of-band rejection 

2.2 Required Equipment and Components

The following equipment and components are needed to measure filters with a spectrum analyzer:

🛠️Spectrum analyzer
🛠️Coaxial cables
🛠️Filters (low-pass, high-pass, and band-pass)
🛠️Quaxys remote RF lab platform

2.3 Test Setup

The test setups for low-pass, high-pass, and band-pass filters are illustrated below:
The test setup consists of the following components:
1.🔗 Filter Connections:
  • The filter's input is connected to a signal generator.
  • The filter’s output is connected to input port of the spectrum analyzer.

The spectrum analyzer can be seamlessly controlled using the Quaxys Remote RF Lab platform. This platform allows you to:

✅ Configure all essential spectrum analyzer parameters, including:
  • Start/Stop Frequency
  • Number of Points
  • Resolution Bandwidth
  • Video Bandwidth

With the Quaxys platform, you gain full control of your RF measurements remotely. A camera is included to enable remote monitoring of the test setup.

2.4 Measurement Steps

  • The following steps apply to all the measurements with a spectrum analyzer.

📋Step 1: Allow the Spectrum Analyzer to Warm Up:
When performing measurements with spectrum analyzers, it’s essential to allow them to warm up and stabilize after powering on. As highlighted in the Spectrum Analyzer Course, temperature changes can cause measurement errors.
In our case, since the spectrum analyzer is already powered on and fully warmed up, this step can be skipped.

📋Step 2: Set Up the Spectrum Analyzer Parameters: 

In this step, configure the following parameters using the Quaxys software:
  • Start Frequency: 100 MHz
  • Stop Frequency: 8 GHz
  • Resolution bandwidth: 1 MHz

📋Step 3: Adjust the Signal Generator Output Frequency and Power:
  • Set the signal generator frequency to 1GHz
  • Set the output power to -20 dBm

2.4.1 Spectrum Measurements

📋 Step 1: Select the Filter for Testing:
From the Quaxys Device Under Test (DUT) menu, choose the filter.

📋 Step 2: Measure the Peaks of Harmonics:
For each filter type, identify the peak harmonic frequencies of the 1 GHz signal from the signal generator.
- What is the in-band insertion loss? 
- What is the out-of-band rejection? 
- Based on the harmonic peaks, can you determine the type of filter being tested?

3. Amplifier Testing with Spectrum Analyzer

3.1 Objective

The objective of these measurements is to evaluate the following amplifier parameters using
 a spectrum analyzer:

🎯 Gain
🎯 P1dB
🎯 IP3

3.2 Required Equipment

The following equipment and components are needed to measure filters with a spectrum analyzer:

🛠️Spectrum analyzer
🛠️Coaxial cables
🛠️Amplifier
🛠️Quaxys remote RF lab platform

3.3 Test Setup

The test setup for the amplifier is illustrated below:
The test setup consists of the following components:
1.🔗 Amplifier Connections:
  • The amplifier's input is connected to a signal generator.
  • The amplifier’s output is connected to input port of the spectrum analyzer.
The spectrum analyzer can be seamlessly controlled using the Quaxys Remote RF Lab platform.

This platform allows you to:
✅ Configure all essential spectrum analyzer parameters, including:

  • Start/Stop Frequency
  • Number of Points
  • Resolution Bandwidth
  • Video Bandwidth

With the Quaxys platform, you gain full control of your RF measurements remotely. A camera is included to enable remote monitoring of the test setup.

3.4 Measurement Steps

  • The following steps apply to all the measurements with a spectrum analyzer.

📋Step 1: Allow the Spectrum Analyzer to Warm Up:
When performing measurements with spectrum analyzers, it’s essential to allow them to warm up and stabilize after powering on. As highlighted in the Spectrum Analyzer Course, temperature changes can cause measurement errors.
In our case, since the spectrum analyzer is already powered on and fully warmed up, this step can be skipped.

📋Step 2: Set Up the Spectrum Analyzer Parameters: 

In this step, configure the following parameters using the Quaxys software:
  • Start Frequency: 100 MHz
  • Stop Frequency: 8 GHz
  • Resolution bandwidth: 1 MHz

📋Step 3: Adjust the Signal Generator Output Frequency and Power:
  • Set the signal generator frequency to 1GHz
  • Set the output power to -20 dBm

3.4.1 Gain Measurements

📋 Step 1: Select the Amplifier for Testing:
From the Quaxys Device Under Test (DUT) menu, choose the amplifier.

📋 Step 2: Measure the Gain:
  • Measure the peak power at the signal generator's output frequency.
  • Determine the gain by comparing the measured peak power to the signal generator's output power.
 

3.4.2 P1dB Measurement

📋 Step 1: If not already done, complete the preparation in Section 3.4 before proceeding.
📋 Step 2: Plot the output power versus the input power
  • Set the signal generator's output power to -20 dBm and increment it in 5 dB steps until reaching 0 dBm. Measure the corresponding output power at each step and plot the measured output power versus the input power (signal generator’s output power).

  • Next, determine the 1 dB compression point (P1dB)—the input power at which the measured output power deviates by 1 dB from the ideal linear gain characteristic.

3.4.3 IP3 Measurement

📋 Step 1: If not already done, complete the preparation in Section 3.4 before proceeding.
📋 Step 2: Determine the IP3:
For third-order intercept point (IP3) measurement, both outputs of the signal generator are required.

  • Set the power level: Configure the output power of both signal generator channels to -20 dBm.

  • Set the frequencies:
First channel: 1 GHz
Second channel: 1.1 GHz

Observe the third-order intermodulation (IM3) products: Measure the power levels of the intermodulation products at (2f1 - f2) = 0.9 GHz and (2f2 - f1) = 1.2 GHz.
Calculate IP3 using the following formula:

4. Receiver Chain Testing with Spectrum Analyzer

4.1 Objective

The objective of these measurements is to evaluate the following receiver chain parameters using a spectrum analyzer:

🎯 Gain
🎯 P1dB
🎯 IP3

4.2 Required Equipment

The following equipment and components are needed to measure filters with a spectrum analyzer:

🛠️Spectrum analyzer
🛠️Coaxial cables
🛠️Amplifier and filters
🛠️Quaxys remote RF lab platform

4.3 Test Setup

The test setup is illustrated below:
The test setup consists of the following components:

1.🔗 Chain Connections:
  • The amplifier's input is connected to a signal generator.
  • The filter’s output is connected to input port of the spectrum analyzer.

The spectrum analyzer can be seamlessly controlled using the Quaxys Remote RF Lab platform. This platform allows you to:

✅ Configure all essential spectrum analyzer parameters, including:
  • Start/Stop Frequency
  • Number of Points
  • Resolution Bandwidth
  • Video Bandwidth

With the Quaxys platform, you gain full control of your RF measurements remotely. A camera is included to enable remote monitoring of the test setup.

4.4 Measurement Steps

  • The following steps apply to all the measurements with a spectrum analyzer.

📋Step 1: Allow the Spectrum Analyzer to Warm Up:
When performing measurements with spectrum analyzers, it’s essential to allow them to warm up and stabilize after powering on. As highlighted in the Spectrum Analyzer Course, temperature changes can cause measurement errors.
In our case, since the spectrum analyzer is already powered on and fully warmed up, this step can be skipped.

📋Step 2: Set Up the Spectrum Analyzer Parameters: 

In this step, configure the following parameters using the Quaxys software:
  • Start Frequency: 100 MHz
  • Stop Frequency: 8 GHz
  • Resolution bandwidth: 1 MHz

📋Step 3: Adjust the Signal Generator Output Frequency and Power:
  • Set the signal generator frequency to 1GHz
  • Set the output power to -20 dBm

4.4.1 Gain Measurements

📋 Step 1: Select the Amplifier for Testing:
From the Quaxys Device Under Test (DUT) menu, choose the amplifier.

📋 Step 2: Measure the Gain:
  • Measure the peak power at the signal generator's output frequency.
  • Determine the gain by comparing the measured peak power to the signal generator's output power.

4.4.2 P1dB Measurement

📋 Step 1: If not already done, complete the preparation in Section 3.4 before proceeding.
📋 Step 2: Plot the output power versus the input power
  • Set the signal generator's output power to -20 dBm and increment it in 5 dB steps until reaching 0 dBm. Measure the corresponding output power at each step and plot the measured output power versus the input power (signal generator’s output power).

  • Next, determine the 1 dB compression point (P1dB)—the input power at which the measured output power deviates by 1 dB from the ideal linear gain characteristic.

4.4.3 IP3 Measurement

📋 Step 1: If not already done, complete the preparation in Section 3.4 before proceeding.
📋 Step 2: Determine the IP3:
For third-order intercept point (IP3) measurement, both outputs of the signal generator are required.

  • Set the power level: Configure the output power of both signal generator channels to -20 dBm.

  • Set the frequencies:
First channel: 1 GHz
Second channel: 1.1 GHz

Observe the third-order intermodulation (IM3) products: Measure the power levels of the intermodulation products at (2f1 - f2) = 0.9 GHz and (2f2 - f1) = 1.2 GHz.
Calculate IP3 using the following formula: